

Wednesday, December 12, 2012

Tuesday, December 11, 2012
PB + J Monday...er Tuesday
I was having a terrible time trying to get blogger to work yesterday! I have something really fun to share for PB+J Monday and I couldn't share it! Anyway, I think I figured it out and here we are. Hoorah!
Yesterday morning, I realized that I hadn't prepared anything for PB+J Monday and decided that I'd just browse the internet to see if I could find something interesting to share. But first I wanted to relax a bit and read my Canadian Living Magazine. I've had it for over a week but haven't have the time to crack it open. I had a spare minute yesterday so I casually flipped through some of the pages.
They always have some great and simple crafts and green tips. I wasn't expecting to find this week's post...b ut I did! I am so excited about this. I have finished my custom orders for Christmas and am taking a break from burning to enjoy the holidays, so now I am at the stage of planning holiday baking and wrapping gifts.
 |
| This is not the one I made |
Anyway, back to this post.
I have been trying to come up with a fun way to wrap our gifts for our nephews. I thought about wrapping them up with a crazy carpet and twine. That way they can use the "wrapping" on the snow hills later. They are really inexpensive and bend easily and they come in fun colours! I may still do that so don't tell them!!

But what to do for everyone else??
Well, this is where my Canadian Living magazine came in. It reintroduced me to wrapping with fabric. This is not new, I know that, but, for whatever reason I had forgotten about it. What a simple and ridiculously "green" way to wrap just about anything!!! And fun!!! The fabric possibilities are endless! And then receiver can use it again for just about anything after wards. It's a win-win all the way around!
Furoshiki originated in Japan as a way for people to carry their items from one place to another. They are just simple squares of cloth that can be folded to wrap and carry just about any object.
I'm not the greatest sewer but my creative juices are really flowing and now I am on the hunt (looking through my fabric bins and maybe a fabric store or two) to find fun fabric to make into furoshiki wrapping cloths. The magazine's website had a quick tutorial (see below) on how to make the cloths and a video. I also found another video online that shows ways to wrap a variety of gifts and even make a bag. The music is fun and upbeat too. And scroll down to see beautiful images of furoshiki at work.
Click here to view: http://www.youtube.com/watch?v=Bn6zdyCAwJs
Canadian Living video: http://video.canadianliving.com/1907679901001/How_to_wrap_gifts_in_fabric_using_Japanese_furoshiki_techniques
You can learn more about the cloths on this website: www.furoshiki.com or there are lots of shops on Etsy that sell the cloths aswell. Just do a search for furoshiki and you'll be delighted with what comes up.
Here is the tutorial (as described in the Canadian Living magazine) for making your own reversible wrapping furoshiki cloth:
YOU NEED:
2 pieces of lightweight quilting cotton in contrasting colours (1x1.1m/40x4.4inches to 1.2x1.1m/48x44inches)
Thread to match
Rotary cutter, acrylic ruler and self-healing cutting mat
Pins
Scissors
Knitting needle or chopstick
wash-out fabric marker or pencil
TO MAKE:
1. Prepare fabric: Using rotary cutter and acrylic ruler and working on self-healing mat, cut fabric squares.
2. Make furoshiki: Place squares, right sides together, on work surface, smoothing out wrinkles and aligning edges.
3. Pin together along each edge, leaving 8cm (3inch) gap at centre of 1 edge. Mark beginning and end of gap with extra pins.
4. Starting and stopping at either side of the gap and using 1 cm (1/2inch) seam allowance, stitch squares together, removing pins as you stitch and back-stitching at beginning and end.
5. With scissors, trim seam allowances at each corner.
6. Turn right side out through gap. Use knitting needle to poke out corners. Press raw edges inside and pin.
7. Press remaining edges and pin layers together along each edge. Measure 1 cm (1/2inch) in from each edge; with fabric marker, mark where measurements intersect to create pivot points.
8. Topstitch square, 1 cm (1/2inch) from edges pivoting at each pivot point. Press.
 |
| Isn't this pretty? It's a dishtowel. From http://www.thekitchn.com |
 |
| Bag ideas from http://myfuroshiki.blogspot.ca |
 |
| Quilted furoshiki from http://www.instructables.com |
| Showing the versatility! From http://ohjoy.blogs.com |
Happy Wrapping!!!
Friday, December 7, 2012
My Favourite Cookie!
I am a cookie monster! There aren't many cookies out there that I won't eat. There are a few, but not many.
I discovered these just a couple of years ago and now I can't stop making them. I feel kind of bad for the kids because these don't last long in our house and they usually only get to munch of a few from each batch!
Here is the recipe. It's from the back of a package of Bob's Red Mill Old Country Style Muesli. I'm sure you could use any muesli but his is soooo good! I add a couple more things to it to make them just a little easier on the conscience to have more than one. Enjoy!!
You can find more delicious Bob's Red Mill recipes here: http://www.bobsredmill.com/recipes.php
Chocolate Chip Muesli Cookies
3/4 cup Whole Wheat Flour
1/2 tsp Baking Soda
1/2 tsp Salt
1/2 Tbsp Wheat Germ
1/2 Tbsp Ground Flax
1/2 cup Butter or Non-hydrogenated Margarine, soft
3/4 cup Brown Sugar
1/2 tsp Vanilla
1 Egg
1 cup Old Country Style
Muesli
6 oz Chocolate Chips
Heat oven to 375°F. Sift flour, baking soda, and salt
together and set aside. Blend butter, sugar, and vanilla. Beat in egg. Add
flour mixture and mix. Stir in Muesli and chocolate chips. Drop by teaspoons on
lightly greased cookie sheet. Bake at 375°F for 10-12 minutes.
Makes 24 cookies.
.JPG)
 |
| Notice the shadow on the wall behind. These had just come out of the oven and B wanted to have one, but it was time for bed and I wouldn't give in. He was not a happy kid. |
Thursday, December 6, 2012
Who is this Elf on a Shelf?
 I feel like I've entered some sort of twilight zone. Until just recently I had never heard of the "Elf on the Shelf" doll or the tradition that goes along with it. It wasn't something our family did and growing up I'd never heard any of my friends talk about it so I didn't know it existed. It's only just been this fall that I've been seeing this doll everywhere! At least it feels that way. I can't seem to escape its little plastic frozen stare.
 Before I learned about the commercialized "Elf on the Shelf" I was introduced to these lovely elves by Pigswife on Etsy. I just adore them. They are handcrafted with love and are so special because not one of them is like another. They are each different in their own way and they have little personalities which shine through.
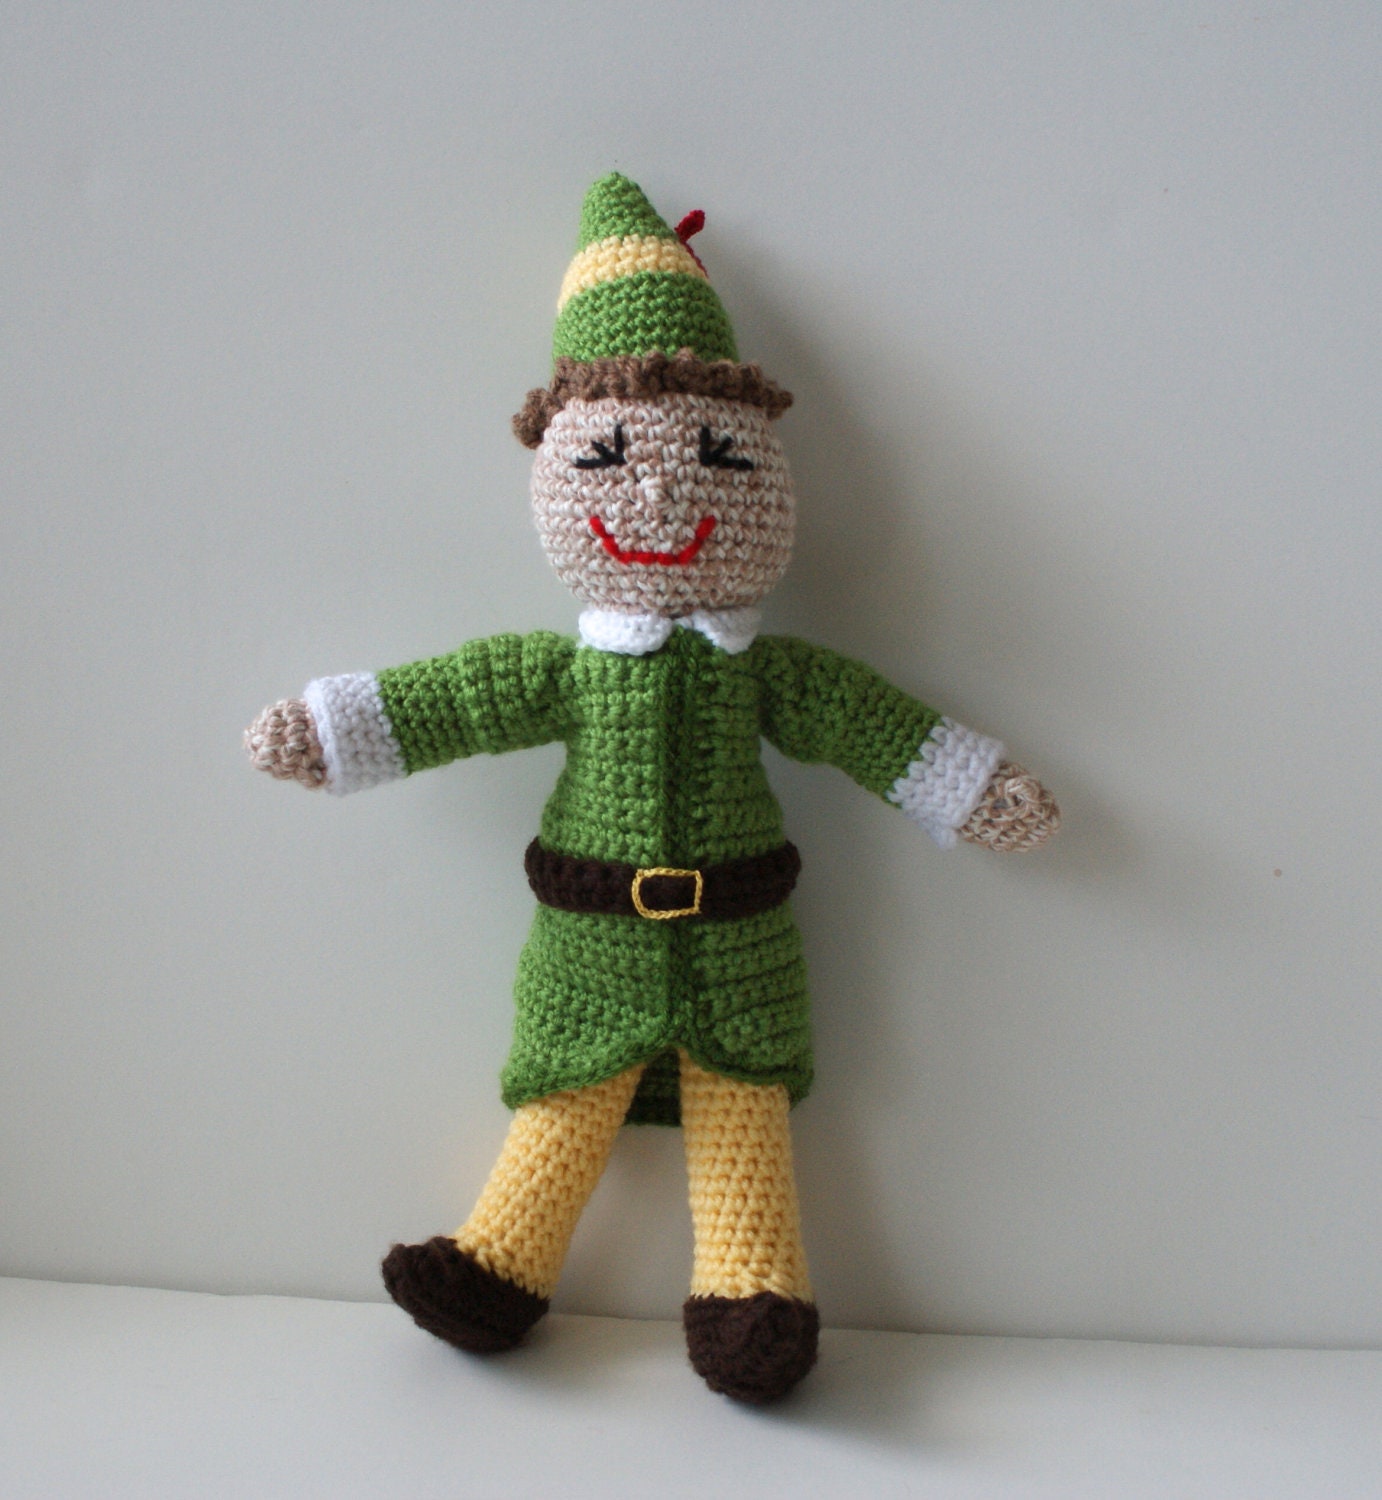 |
| This guy is fashioned after "Buddy" from the movie "Elf" |
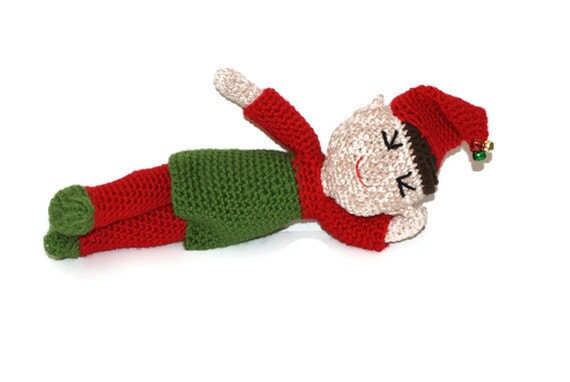
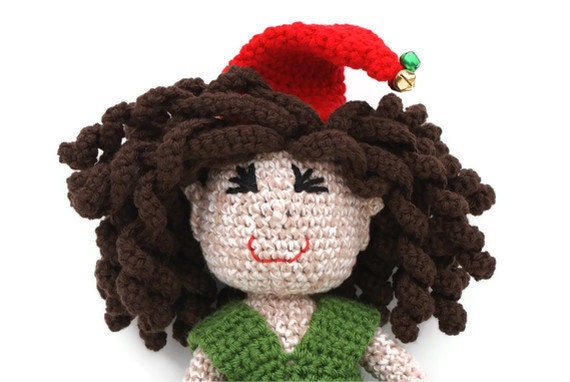
After falling in love with these beauties I can't stand to look at the commercial version. It holds no meaning for me from childhood memories and instead looks quite creepy, cheap and massed produced. I don't see anything cute or adorable in it at all.
I like the idea of hiding it every morning for the family (kids) to find. That is a fun tradition that I may start with my kids next Christmas. But I will be using our unique and beautiful Christmas elf instead.
 |
| Our elf with Marcel the cat |
 This is our Christmas elf. She watches over the kids and reports back to Santa.
I apologize if this offends anyone, I am just sharing how I feel.
How do you feel? Do you have one of the "Elf on a Shelf"s? Do you hide it for your kids to find? Is it a long standing tradition in your family from when you were a kid? Or is it new to you too? I'd love to hear what you think.
Tuscan Lazy Susan
Last week I had a special request for a lazy susan with a tuscan design. I enjoyed putting the design together and this is the final piece.


To see more custom orders I've done please take a look at the "my work" tab at the top of my blog.
Wednesday, December 5, 2012

Monday, December 3, 2012
PB + J Monday
Have you seen this company before? EKO BEAR

They make eco-friendly toys from recycled milk containers and other environmentally friendly materials.
We have a few of their toys and the boys love them. They're big, bright, durable and really fun! My boys are rough on their toys and these guys hold their own against everything my kids throw at them. Plus they are made in the USA! Check out their website for arts and crafts, books and puzzles, pretend play, bath toys and so much more. You are sure to find something perfect to give any little ones on your list. And you'll feel good knowing you've given something green.
These are some of the toys my boys have. We've had them for years and they still play with them and they are still in great condition.
 |
| Recycling Truck |
 |
| Tea set |
Subscribe to:
Posts (Atom)